The Wet Sock Never Lies: A Bilge Pump Check That Starts Before the Water Does
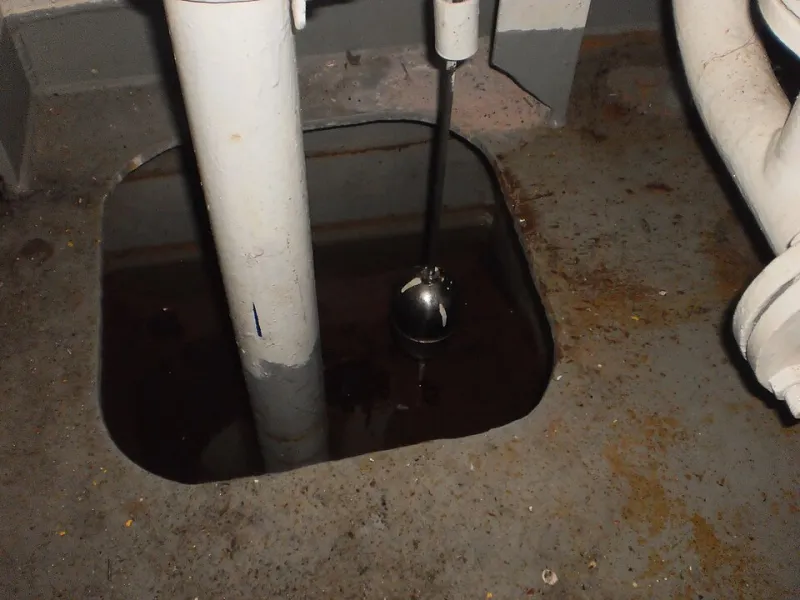
Photo: Ciacho5, CC BY-SA 3.0, via Wikimedia Commons
Bilge pumps do not fail politely. They do not leave a note, send a text or wait until you are aboard with a torch and a fresh mug of tea. More often they seize quietly over winter, or a float switch sticks in the dry position, or a hose clip corrodes into a dusty memory. Then one rainy Tuesday the bilge fills, the pump hiccups, and you discover the problem by standing in it.
The good news is that most of this is findable before the water does. You do not need a laboratory, a marine electrician or a chandlery trolley full of gadgets. You need a dry sock, a torch, ten minutes and a slightly suspicious attitude towards anything that has been sitting in a damp locker since October.
Start with the sock, not the spanner
The wet-sock diagnosis is beautifully low-tech. Clean and dry the bilge as best you can. Then wedge a clean, dry sock — or a folded paper towel, if you are too posh to sacrifice hosiery — under the pump body and around the lowest hose joints. Leave it for a week. Next visit, inspect it with the earnestness of a detective examining a crime scene.
A damp sock tells you water is arriving from somewhere. A dry sock after heavy rain tells you the cover is doing its job, the cockpit drains are running away properly and the bilge is not quietly collecting the sky. The trick is to note where the sock is wettest. Under the stern gland? Around a hose tail? Below the through-hull? Near the pump body? That is your first clue. Saltwater feels different from freshwater, too — not by licking it, please, but by where it lands. Rainwater often arrives from cockpit lockers, chainplates or a tired hatch seal. Saltwater points you towards the sea, the shaft, a skin fitting or a hose run below the waterline.
This is not a substitute for fixing the leak. It is a way of stopping the bilge pump from being the only thing standing between you and an unplanned swimming lesson.
Float switches: lift, listen, learn
A float switch is a small, inexpensive part with an outsized job. Test it by hand, not by faith. With the pump isolated at the switch panel, lift the float through its full travel. It should move freely and click or switch without feeling gritty. Then restore power and lift it again. You want to hear the pump start promptly — within a second or two — and you want to see water moving at the discharge.
If nothing happens, do not immediately blame the pump. Check the fuse or breaker, the switch panel, the inline connector and the float switch itself. Corroded terminals are common in bilges because bilges are wet, salty and ignored. A squirt of contact cleaner is not a cure for a rotten crimp, but it can confirm where the fault lies.
Electronic float switches have their place, but they can be fussy about oil, slime and debris. Mechanical floats can jam on a stray cable tie or a bit of old impeller. Whichever you have, make sure it is mounted so it can move through its full arc without fouling the pump body or the hose. And if the switch has a manual test lever, use it — then still lift the float by hand. A test button only proves the button works.
The manual pump is not decoration
Every boat with a bilge should have a manual pump that a tired, frightened person can operate in the dark. Test it properly. Fill a bucket with water, pour it into the bilge, and pump it out. You are checking the diaphragm, the valves, the handle, the hose and the strum box. You are also checking that the pump is actually plumbed to the bilge and not to a locker that has not seen water since the boat was built.
If the manual pump has a removable handle, make sure the handle lives on the pump or in a labelled locker. A manual pump without a handle is a sculpture. A manual pump with a perished diaphragm is a disappointment. Both are worth discovering at the pontoon rather than in a choppy anchorage.
Hoses, clamps and the non-return valve trap
Trace the discharge hose from pump to through-hull. It should run as directly as possible, with gentle bends and no kinks. A hose that loops up and then down can trap water, and trapped water is how you get a pump that runs, stops, then runs again for no apparent reason. If the discharge is near the waterline, check for an anti-siphon loop or a vented loop arranged properly. A non-return valve is not a substitute for that.
Non-return valves — flaps, jokers or internal check valves — can stick open or shut. If the pump cycles on its own, or water drains back into the bilge after the pump stops, suspect the valve or the float switch. Many bilge pumps have an internal check valve that can be cleaned or replaced. If yours does, learn how. If it does not, do not add a random inline valve without thinking about access and blockage risk.
Check every hose clip. Stainless clips are not all equal, and the cheap ones in a damp bilge have a limited career. Double-clip below-waterline connections where you can, use proper marine-grade hose, and replace any hose that feels hard, cracked or squashed. A hose that fails at the tail is just a pump moving water into the wrong part of the boat.
Spares that earn their locker space
You do not need a spare chandlery. You need a sensible box: a spare pump of the same footprint or a replacement cartridge, a spare float switch, a fuse or two, a handful of good stainless hose clips, a short length of reinforced hose, and a manual pump handle if yours is detachable. Add a big sponge and a plastic scoop. They are not glamorous, but they are the difference between managing a weep and watching it become a problem.
Before the worst of the winter rain, run the whole system deliberately. Fill the bilge with a bucket, lift the float, watch the discharge, pump by hand, and check the sock. It is ten minutes of mild humiliation that can save you a season of unpleasant surprises. Bilge pumps do not fail politely — but with a wet sock and a bit of scepticism, you can usually hear them complaining before they stop.